Quick Answer
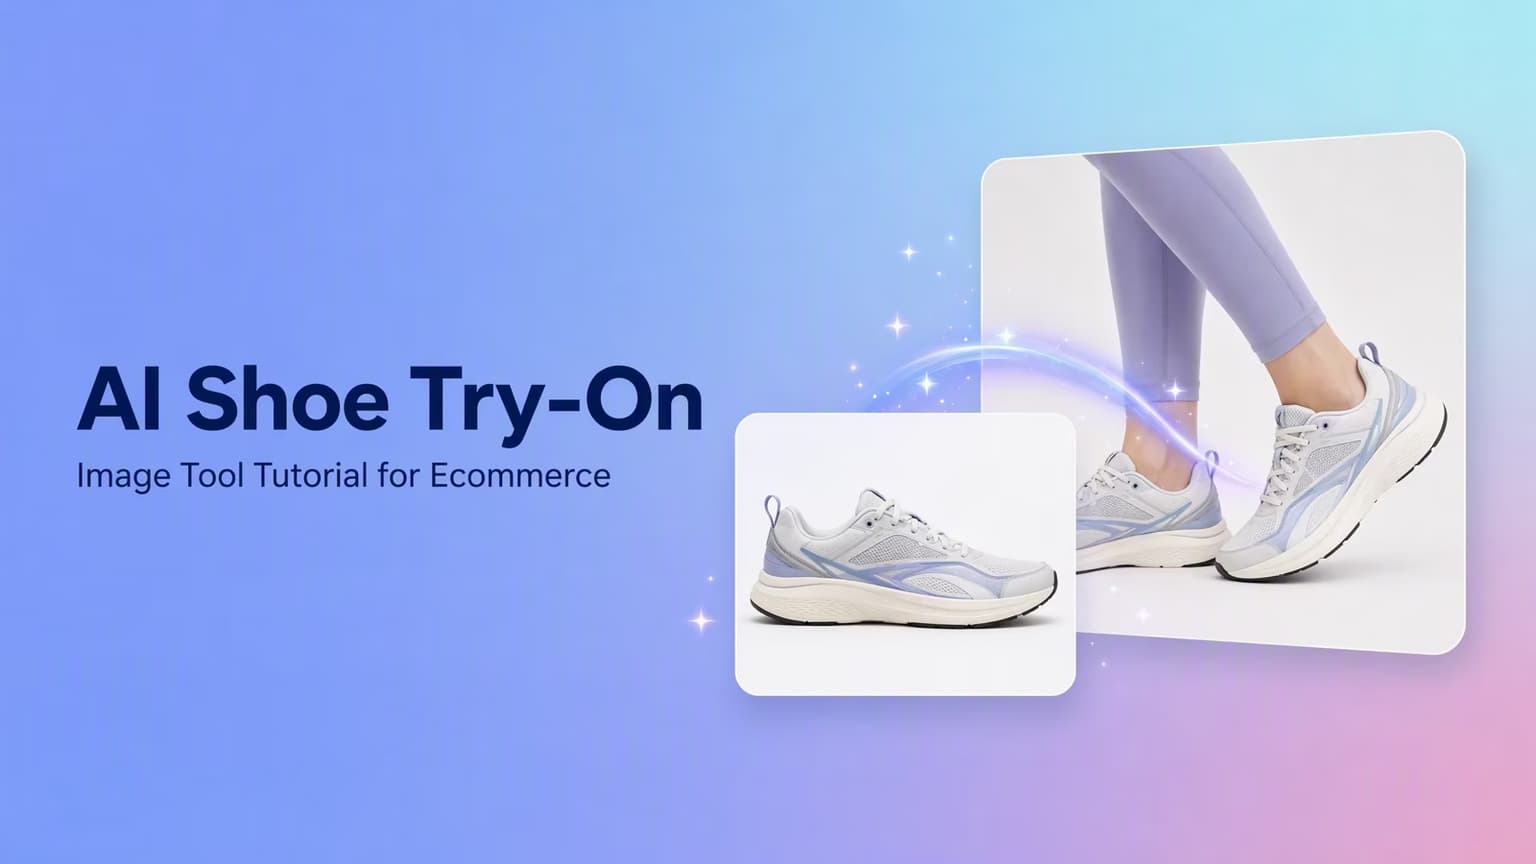
Start with one clear shoe photo, open AI Studio → Image Tool → Shoe Try-On, and choose a pose from the model library or upload a reference photo. Hilight combines the two into a static AI shoe try-on image that you can use to explore product-page styling, campaign layouts, and social concepts.
Our first-test recommendation is simple: use your easiest hero SKU, a clean side-oriented product image, and a natural standing or walking pose. Once that pairing works, try the same shoe with a bolder pose or a different campaign direction.
Launching a new sneaker colorway often starts with clean packshots—not a complete set of on-foot images. When every SKU needs its own model, pose, styling, and retouching, a simple visual refresh can turn into another production schedule.
Hilight’s Shoe Try-On turns a shoe product photo and a model pose into a fresh on-model visual. It sits inside Hilight AI Studio and its ecommerce creative tools, so teams can move from a standalone shoe image to product-page, ad, and social concepts without organizing a new shoot for every idea.
When Should You Use AI Shoe Try-On Images?
AI shoe try-on is useful whenever a plain product photo needs more styling context. Think of it as a practical layer in your ecommerce product photography workflow: the shoe stays central, while the model pose helps shoppers and creative teams imagine how it reads when worn.
New product and colorway listings
For a running-shoe launch with six colorways but on-foot photography for only the hero color, the remaining packshots can be paired with the same clean model direction. This gives the collection a more consistent visual story while the team builds the final gallery. If footwear is part of a wider fashion catalog, our clothing photo-to-model guide explains the parallel still-image workflow for apparel.
Ad and social image variations
A product page may need a clear standing pose, while an Instagram teaser can carry more movement. Using different poses with the same shoe photo lets a marketer explore those compositions before committing to a full campaign shoot.
Early lookbooks and internal selection
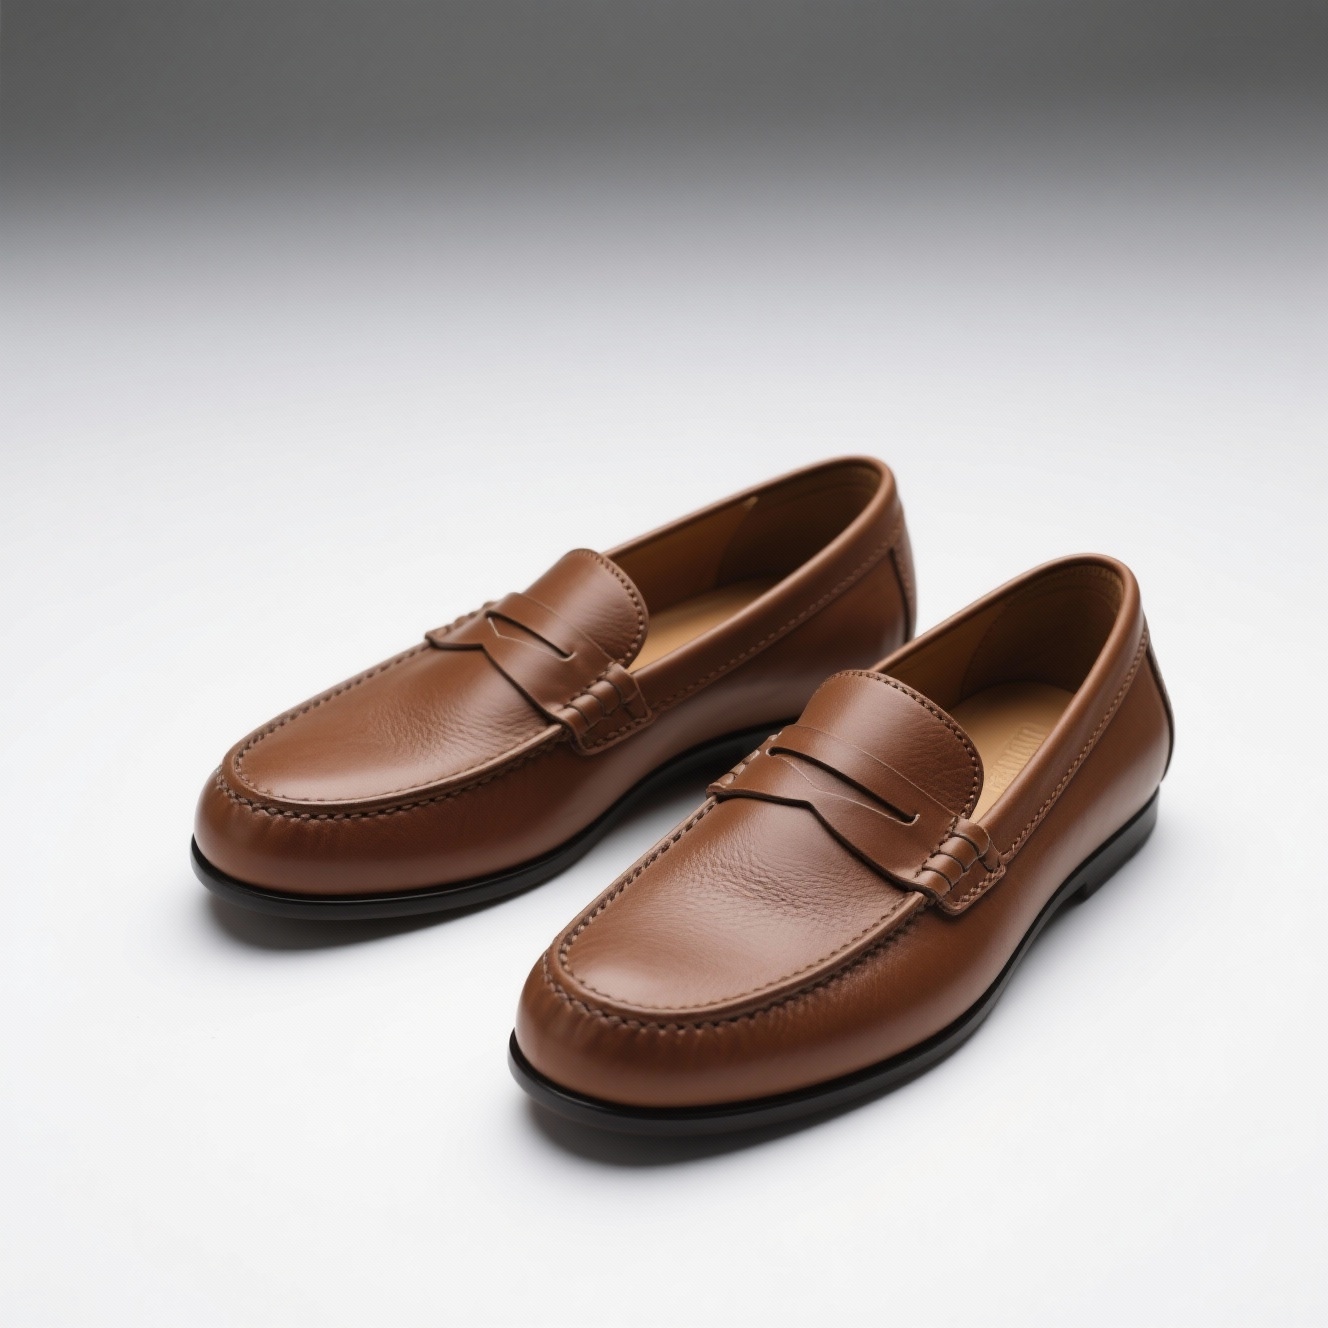
For a buyer deck or early lookbook, try the same loafer in a clean studio stance and a relaxed lifestyle pose. Seeing both directions side by side makes it easier to choose the mood, framing, and styling worth developing further.
What Kind of Shoe Photo Works Best?
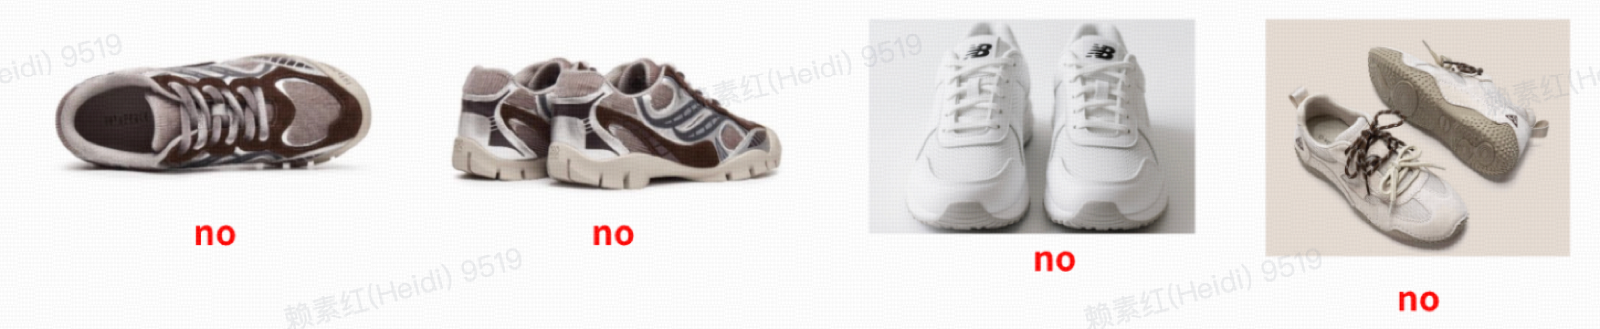
The shoe photo is doing more work than it may seem: it tells the Image Tool what the toe, upper, sole, heel, and colorway should look like. A clean source image gives the final visual a much stronger starting point.
For the shoe image:
- Use a clear image with a simple background.
- Keep the full shoe shape visible rather than heavily cropped.
- Avoid a straight-on front view, a full rear view, or a steep overhead shot.
- Do not use an image in which the shoes are upside down.
- When possible, start with a pair of shoes laid flat and photographed from a side-oriented angle.
That last setup gives the Image Tool a clearer view of the silhouette, upper, sole profile, and relationship between the two shoes.
How to Choose a Model Pose or Reference Photo
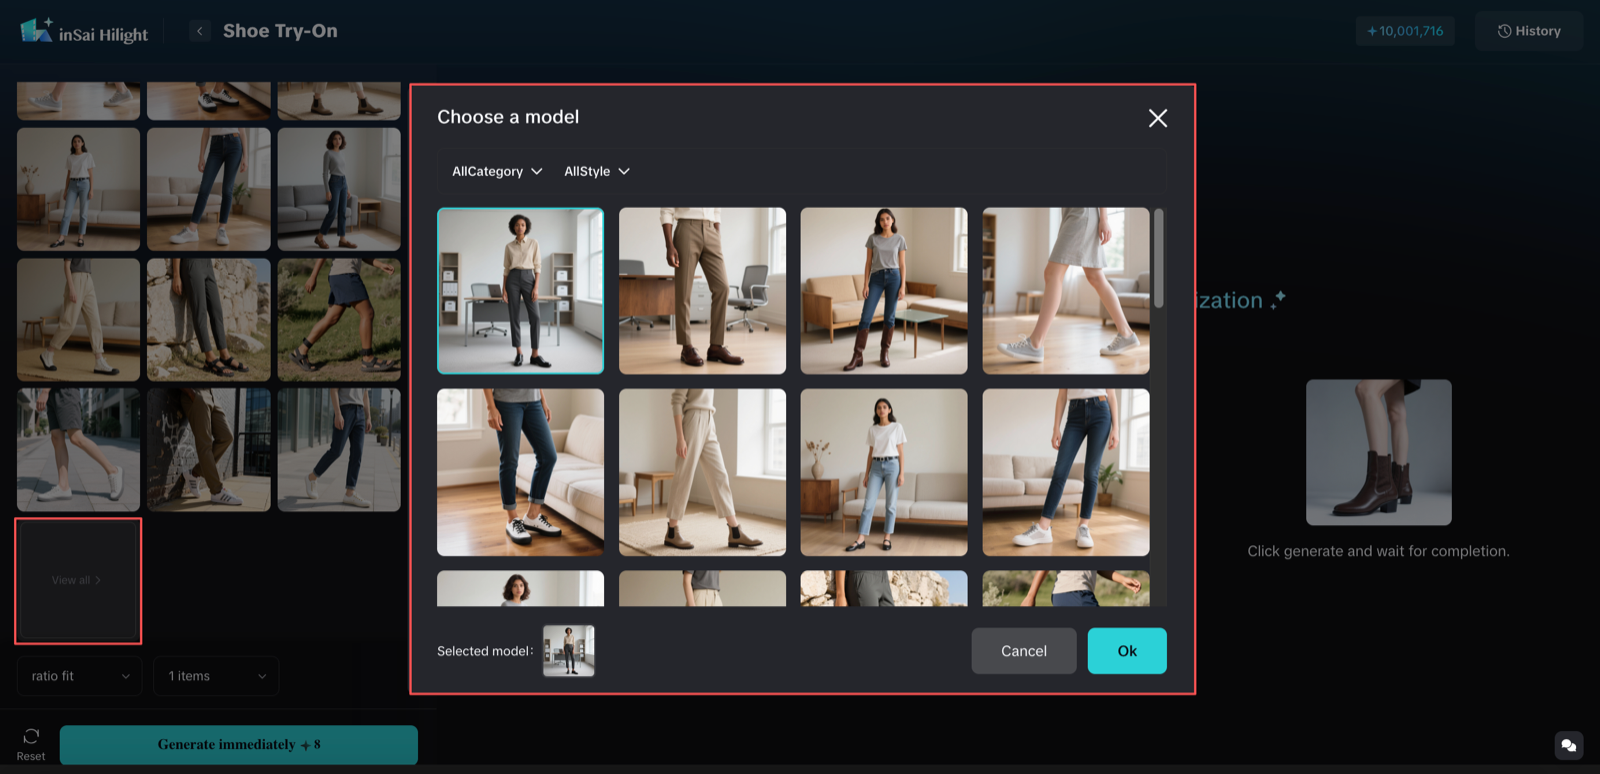
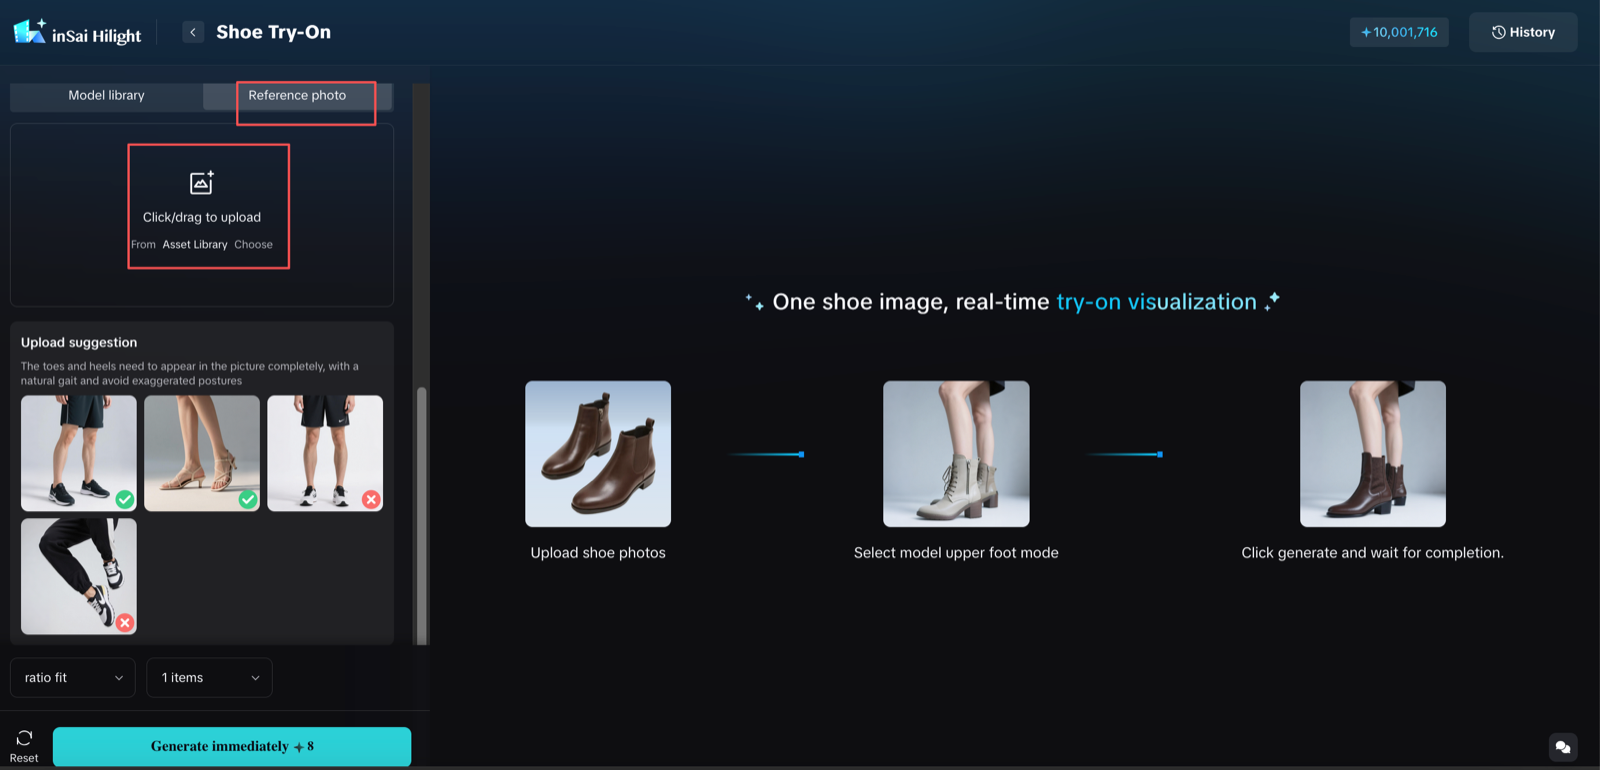
Hilight gives you two easy paths: pick a ready-made pose from the model library, or upload a reference photo when your brand already has a particular person, stance, or composition in mind.
For a custom reference photo:
- Keep the toes and heels visible in the frame.
- Use a natural standing or walking pose rather than an exaggerated posture.
- Avoid upside-down poses and angles that distort the feet.
- Avoid a pose with the soles pointed directly at the camera.
- Keep the shoe area mostly unobstructed; the current help guidance recommends avoiding more than 60% occlusion.
- Do not start from a barefoot model image for this workflow.
A pose can look stylish and still be a poor technical match. If the feet are hidden behind clothing, cropped by the frame, or sharply foreshortened, choose another reference before generating. For example, a walking pose can bring energy to a performance sneaker, while a clean standing pose often gives a loafer or minimalist shoe a more premium, product-led feel.
How to Create a Shoe Try-On Image in Hilight
Step 1: Open Shoe Try-On in AI Studio
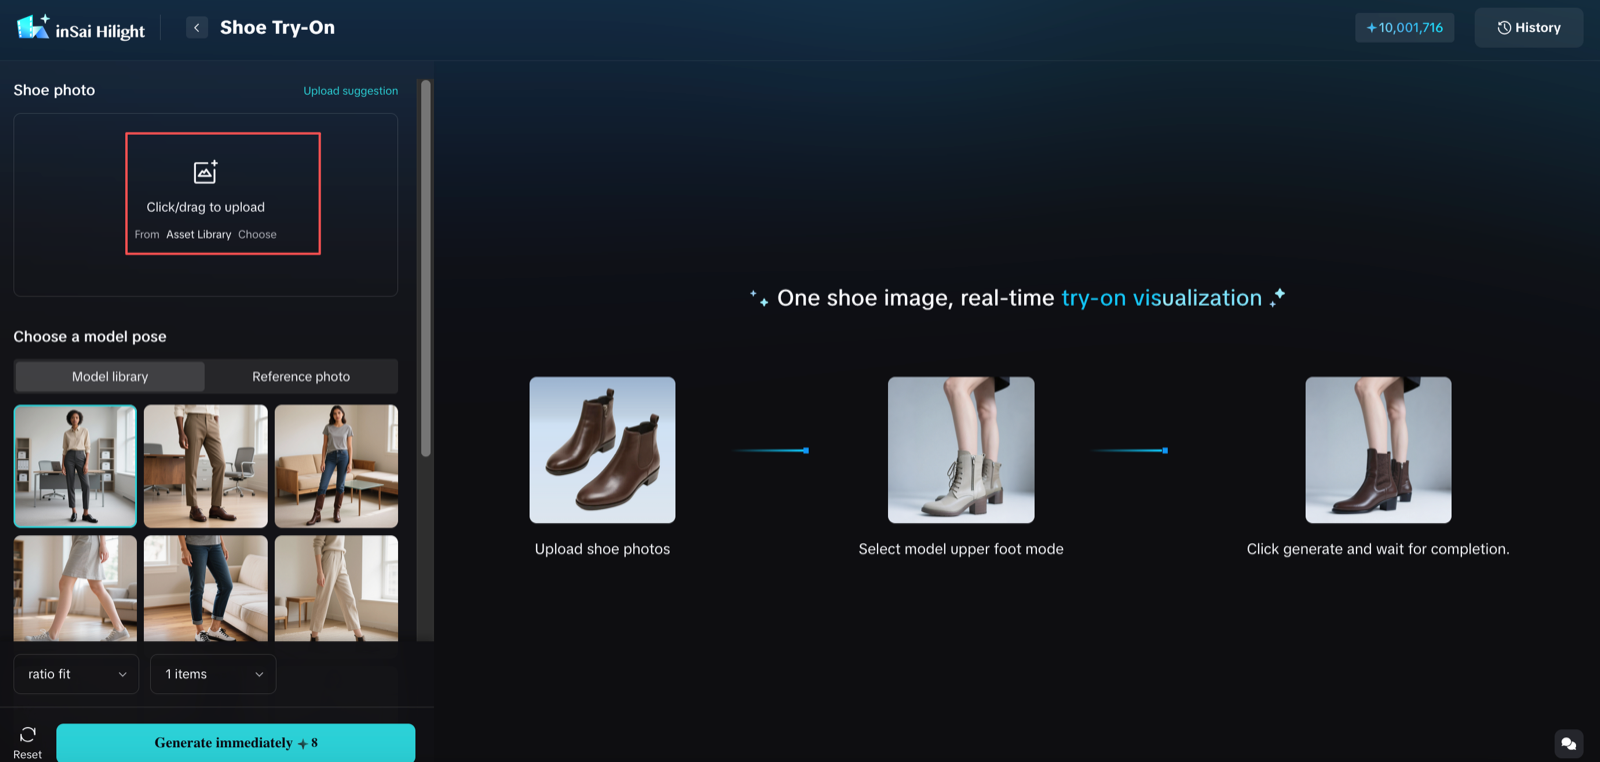
Open Hilight’s AI Studio, go to the Image Tool group, and choose Shoe Try-On. You will see the two choices that shape the result: the shoe photo and the model pose.
Step 2: Add the shoe photo
In the Shoe Photo area, upload the product image, drag it into the upload area, or choose an existing asset from your library. Check that the shoe is upright, sharp, and fully visible before continuing.
Step 3: Choose the model pose
In Choose Model Pose, browse the model library and use the available filters to narrow the options. Choose with the placement in mind: a readable stance for a product page, more motion for a social post, or extra negative space when ad copy needs room.
If you already have a brand-approved person or pose, use Reference Photo instead. Confirm that the foot area follows the visibility and angle guidance above.
Step 4: Generate the image
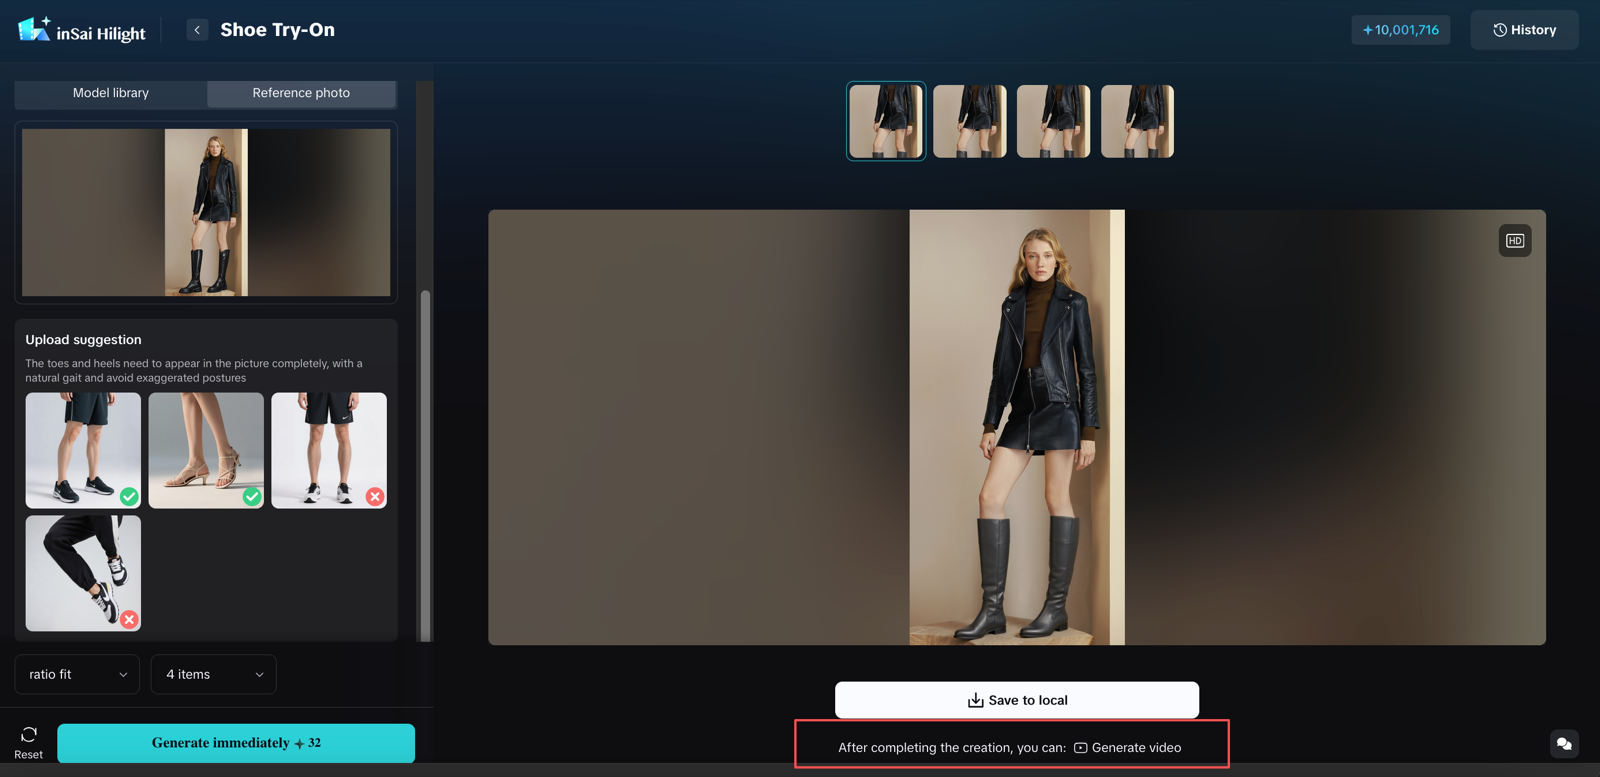
Start generation after both inputs are in place. This is the satisfying part: a standalone shoe photo becomes an on-model image, giving you a new way to see the product before building the final layout.
Step 5: Review, save, or revisit the result
First look at the image as a shopper would: does the shoe catch your eye, and does the pose make the product feel right for the intended audience? Then zoom in, compare the details with the original photo, and save the strongest result with Save to Local.
Open History in the upper-right area whenever you want to compare previous generations. If an approved static image inspires a motion concept, the result page can also lead you into Generate Video for the next creative step.
What to Check Before Using the Image
The fastest way to lose confidence in a product visual is to let one defining detail drift. Before using the image, compare it with the original shoe photo from the outsole upward.
For example, if a sneaker is known for a sculpted sole, reflective panel, or distinctive lace system, those details deserve a close look. The overall image can feel great, but the product still has to look like the shoe your customer will receive.
Common Mistakes That Hurt Shoe Try-On Results
The shoe shape looks distorted
Go back to the source image first. A clearer side-oriented product shot is usually a better reset than repeatedly generating from a front-facing, overhead, cropped, or upside-down photo.
The shoe does not sit naturally on the foot
Try a reference with visible toes and heels, a more natural gait, and less foreshortening. If a dramatic fashion pose makes the feet unreadable, save that energy for the layout and choose a cleaner stance for the generation.
Important details disappear
Use a higher-clarity shoe photo and a pose with less occlusion. If a logo, lace system, heel structure, or sole detail is commercially important, compare it at full size before approving the image.
The result looks good but does not work for the placement
Match the pose to the placement. A product gallery benefits from a readable shoe angle; a paid-social visual may need movement and room for a headline; a collection banner may work better with a wider, more editorial composition.
How to Use Shoe Try-On Images Across Ecommerce Channels
Product pages
Place the on-model image after the clean hero shot to answer a different question: “What does this shoe feel like when worn?” For a neutral sneaker, a simple standing pose can make the gallery feel styled without distracting from the product. When the same shoe also needs a seasonal or lifestyle setting, the AI product background tutorial is a useful next workflow.
Ads and landing pages
Choose a pose that leaves room for the headline, offer, or CTA. A side step can create useful negative space; a tighter crop can work when the campaign is built around the outsole, heel, or color blocking.
Social content
This is where the workflow can feel especially fun. Try a relaxed street-style pose for a lifestyle sneaker, or a more active stride for a running shoe, then adapt the approved image into feed posts, campaign teasers, or mood boards. For motion-led fashion content, the virtual try-on video guide shows a related clothing workflow inside Hilight.
Internal concepts and buyer presentations
Put two or three directions beside each other and ask a simple question: which one makes the shoe’s personality obvious at a glance? That comparison can make a buyer conversation or photoshoot brief much more concrete.
Two Shoe-Launch Use Cases
A small running-shoe ecommerce brand in California is ten days away from launching its spring collection. One shoe is coming in six colorways, but the team only has clean packshots and no time to coordinate models, samples, locations, and post-production for another shoot. They upload the existing shoe images to Shoe Try-On in Hilight AI Studio, use the hero colorway to choose between natural standing and running poses, then carry the selected visual direction across the rest of the collection. The team finishes with a more consistent set of on-foot images for product pages, a square composition for an ad, and a more dynamic visual for social media.
An independent women’s-footwear ecommerce team in New York is preparing a fall loafer campaign. The products are already in stock, but the landing page and ads still rely on supplier packshots. Before committing to a new photoshoot, the team wants to know whether a polished commuter look or a relaxed street-style direction fits the campaign better, so they generate on-foot images with both a clean standing pose and a natural walking pose. They end up with two visual directions for the landing-page hero and social teasers, plus a clearer brief for the poses, framing, and styling needed in the later shoot.
FAQ
Can I upload my own model photo?
Yes. Use the Reference Photo option and choose an image with clearly visible toes and heels, a natural pose, limited occlusion, and a camera angle that does not distort the feet.
What is the best shoe image to start with?
A clear, upright product photo with a simple background and a side-oriented view is the safest starting point. A pair of shoes laid flat can provide especially useful shape information.
Which model pose should I try first?
Start with a natural standing pose or a gentle walking pose that keeps the toes, heels, and overall foot direction easy to see. For product pages, choose a cleaner stance; for ads or social content, try more movement after the first virtual shoe try-on image looks right.
Where does AI virtual try on fit into ecommerce product photography?
It works well as an on-model addition to an existing image set. Use AI shoe try-on visuals to add wearing context to product galleries, explore landing-page and paid-social layouts, prepare campaign teasers, or compare creative directions before a larger shoot.
Can I turn the result into a video?
Yes. Once you have an approved static shoe try-on image, the result page can offer a Generate Video entry so you can explore a motion version from the visual you already like.
Final Thoughts
Our recommendation is to start with one hero SKU rather than the whole catalog. Pair a clear shoe photo with a natural pose, generate a few purposeful directions, and keep the one that makes the product feel easiest to imagine—and most exciting to click.
Once you have an approved set of shoe visuals, the image-to-video AI guide for ecommerce can help you decide which images are worth extending into motion, close-ups, or short social assets.

