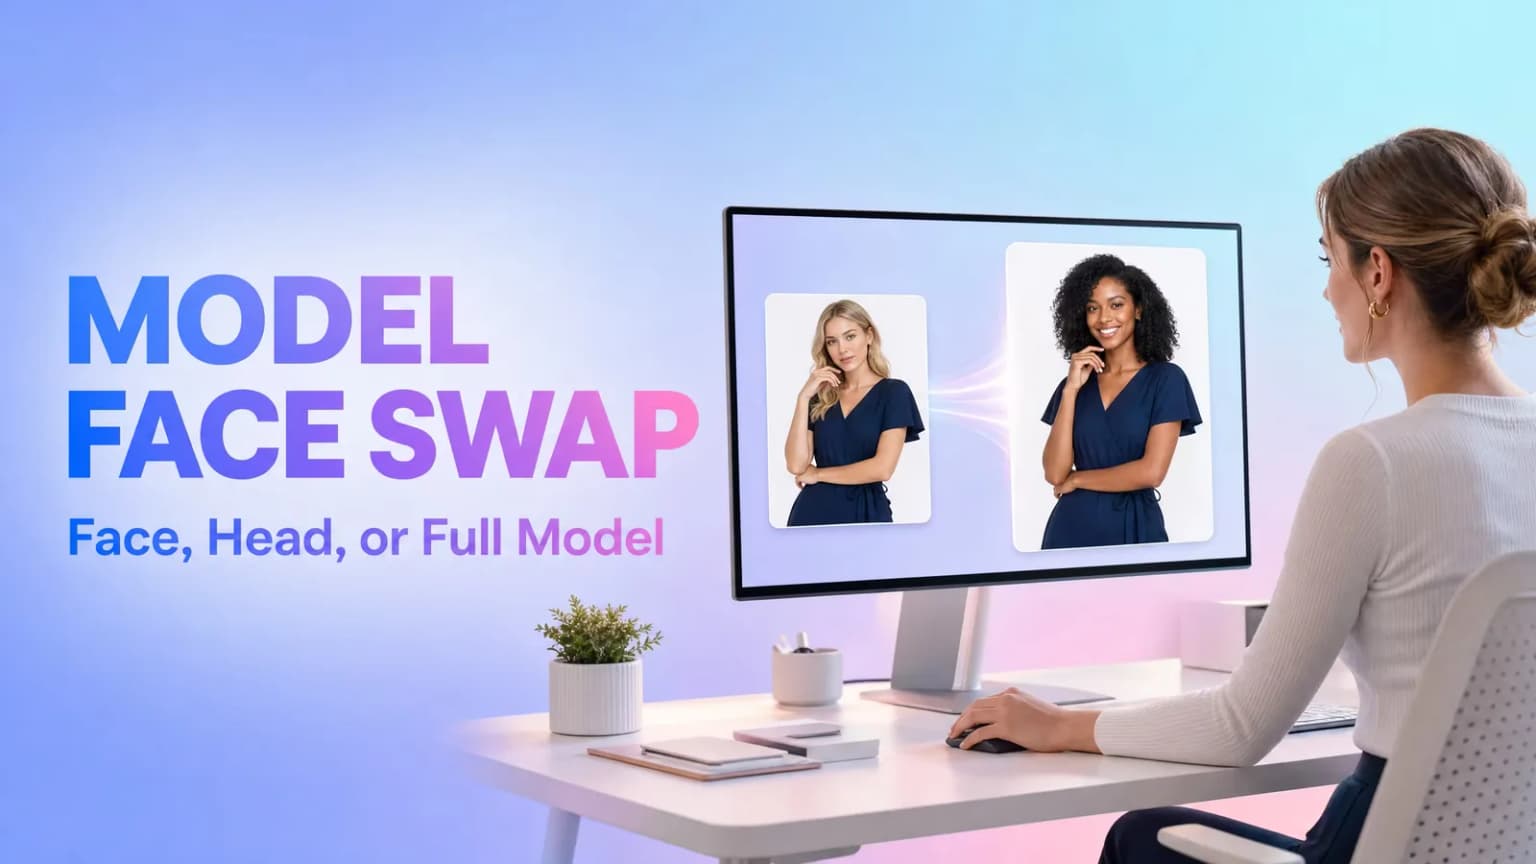
Quick Answer
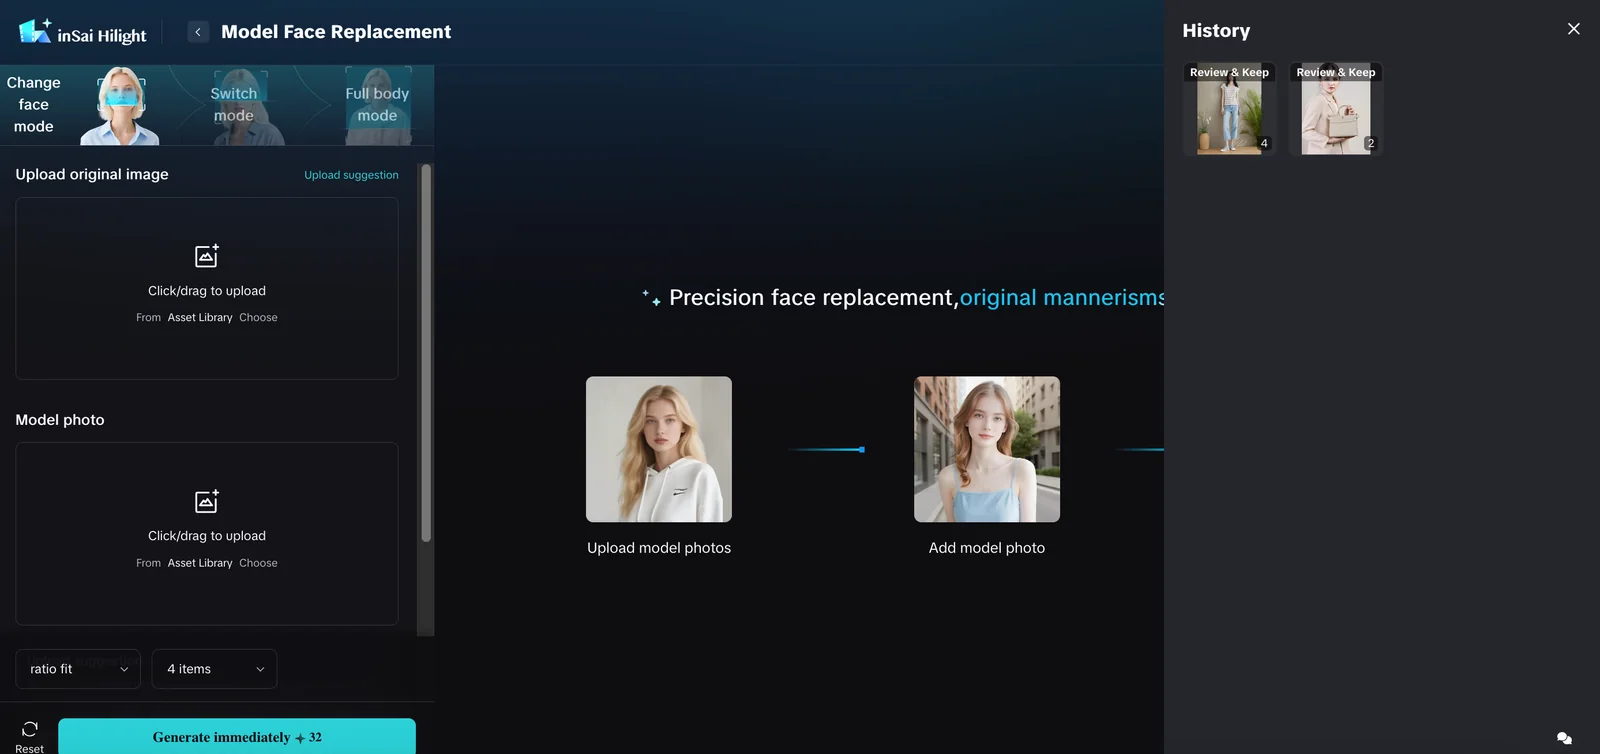
With Model Face Replacement in inSai Hilight AI Studio, you can start with an existing ecommerce photo and choose how much of the person to change. Face Swap mode replaces the face while retaining the original hair, pose, and clothing. Head Swap mode—shown as Switch mode in the current English interface—replaces the face and hairstyle. Full Body mode replaces the entire person.
Prepare two images: the original photo containing one clearly visible model and a clear photo of the replacement model. Choose the mode, upload both images, select the output ratio and number of results, generate candidates, and check the person, product, and composition before saving a version.
An ecommerce photo may already have the right product, pose, background, and crop but the wrong model direction for a new market or campaign. Recreating the whole shoot can mean coordinating the product, location, photographer, and model again—even when most of the original image still works.
An AI model face replacement workflow offers a narrower option. Instead of rebuilding the image from scratch, you can keep the useful parts of the existing photo and change the face, the head, or the full model. The important decision is not simply whether to make a face-swap pic; it is how much of the person needs to change while keeping the product image usable.
This tutorial explains that decision and shows the complete Hilight workflow, from preparing the two source images to reviewing and saving the result.
Why Social Teams Often Need More Than One Model Image
One strong model photo may work for the launch post, but the next request is often a Facebook Feed ad, an Instagram Story, or a set of carousel cards. Reusing the same image everywhere can quickly feel repetitive, and a crop that works in the Feed may cut off the model's hair, shoes, or the product in a full-screen placement. Facebook and Instagram offer several placements and formats, and Meta encourages advertisers to prepare a wider mix of creative for them.
Sometimes the product photo is not the problem—the person is. The clothing, pose, background, and lighting may still work, while a new market, season, or campaign calls for a different model direction. Rebuilding the entire shoot just to change the person means giving up an image that was otherwise useful.
With Model Face Replacement in Hilight AI Studio, the team can keep that useful image and change only what the new direction requires: the face, the face and hairstyle, or the full model. After review, the result can become one of several social media product images prepared for a Facebook ad creative, an Instagram ad creative, or another ecommerce social media creative layout.
What Changes in Face Swap, Head Swap, and Full Body Modes?
Choose the mode according to the part of the original model that no longer fits the creative direction.
Use Face Swap mode when the styling, hair, pose, and outfit already work and only the face should change. This is the most focused way to replace a face in a photo.
Use Head Swap mode when the replacement person's hairstyle should be part of the new look. In the current English interface, this option is labeled Switch mode.
Use Full Body mode when changing only the face or head would not solve the mismatch—for example, when the model's overall appearance or body presentation needs a different direction. Because more of the image changes, review the clothing, accessories, hands, body proportions, and product interaction carefully.
Prepare Two Clear Source Images
The model face swap begins with one original ecommerce image and one replacement model photo. Clear, compatible inputs make the result easier to evaluate.
Original ecommerce image
Choose an image that:
- contains one model;
- shows the face clearly at a moderate size;
- has little obstruction around the face and head;
- uses a natural pose;
- has a reasonably simple background;
- shows the clothing, product, and important accessories clearly enough for comparison.
Avoid starting with a very small face, heavy shadows, hair covering most of the face, or a crowded scene. If the original product detail is already hard to inspect, it will also be hard to confirm whether the generated result changed it.
Replacement model photo
Choose a photo with:
- clearly visible facial features;
- even lighting;
- no heavy beauty filter or special effect;
- minimal obstruction around the face;
- a view that is reasonably compatible with the original model's angle.
For a first attempt, use two images with similar head angles and lighting directions. You can explore more contrast later, after confirming that the basic pair works.
Only upload and edit photos that you have the right and appropriate permission to use. Before publishing, also confirm that the intended commercial use is consistent with the permissions for the person and the source image.
How to Use Model Face Replacement in Hilight AI Studio
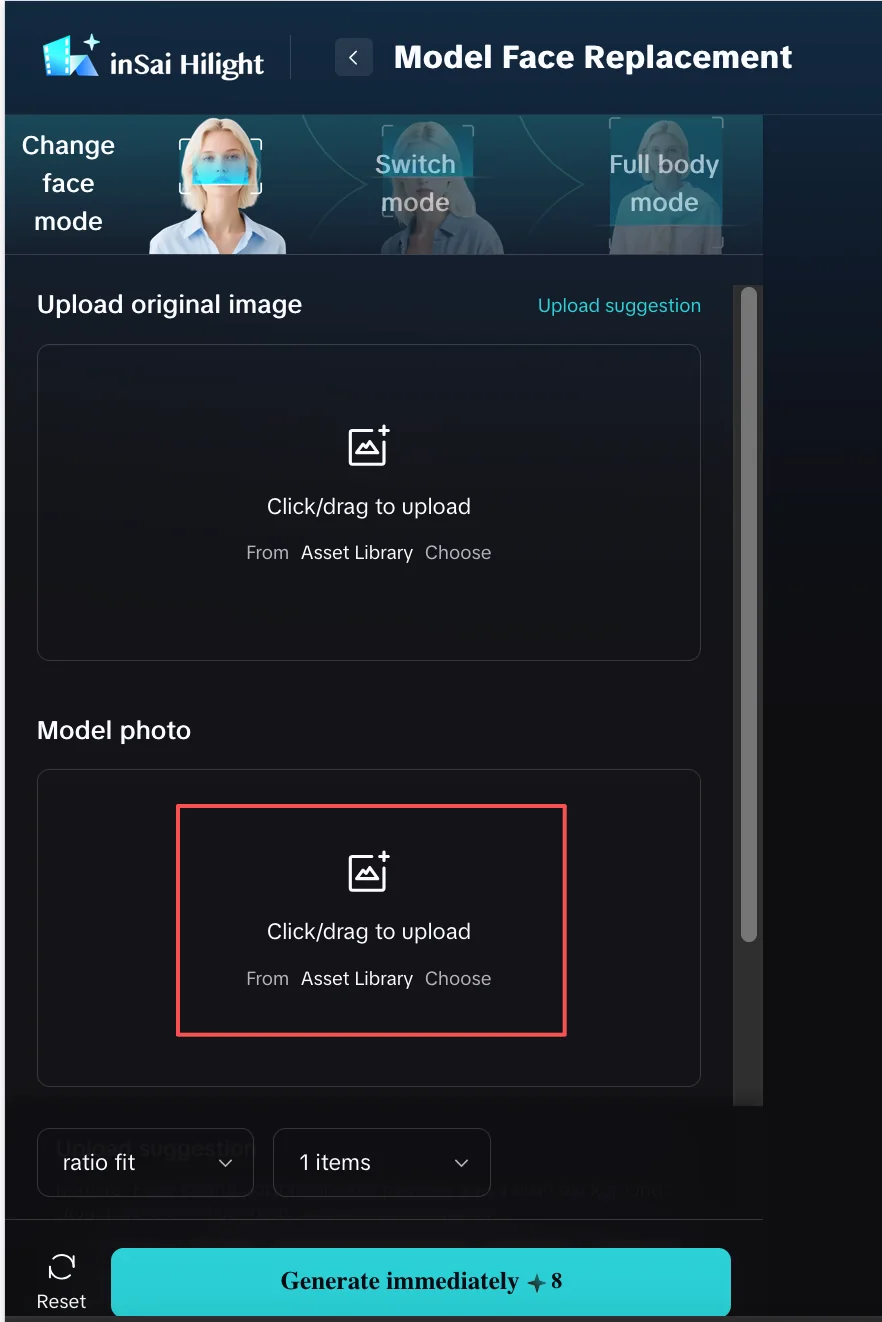
Step 1: Open the feature
Open AI Studio / 素材工坊 in inSai Hilight and select Model Face Replacement / 模特换脸.
Step 2: Choose how much of the model to replace
Select Face Swap mode, Head Swap mode (shown as Switch mode in the current UI), or Full Body mode. Make this choice before uploading candidates so you know what the output is supposed to preserve.
Step 3: Upload the original image
Add the existing ecommerce photo in the original-image area, either from your device or from the asset library. Check that the preview contains the complete area you need to keep.
Step 4: Upload the replacement model photo
Add the model photo that provides the new face, head, or person. If the face is blurred, strongly filtered, or heavily obstructed, replace it before generating.
Step 5: Choose the output settings
Use automatic ratio fitting or select one of the image ratios currently available in the interface. Then choose how many results to generate. For the first run, a small candidate set is easier to compare carefully.
Step 6: Generate and compare candidates
Select Generate immediately and wait for the results. Do not approve a candidate only because the new face looks attractive. Compare it with the original image and check whether the product, styling, and composition still work.
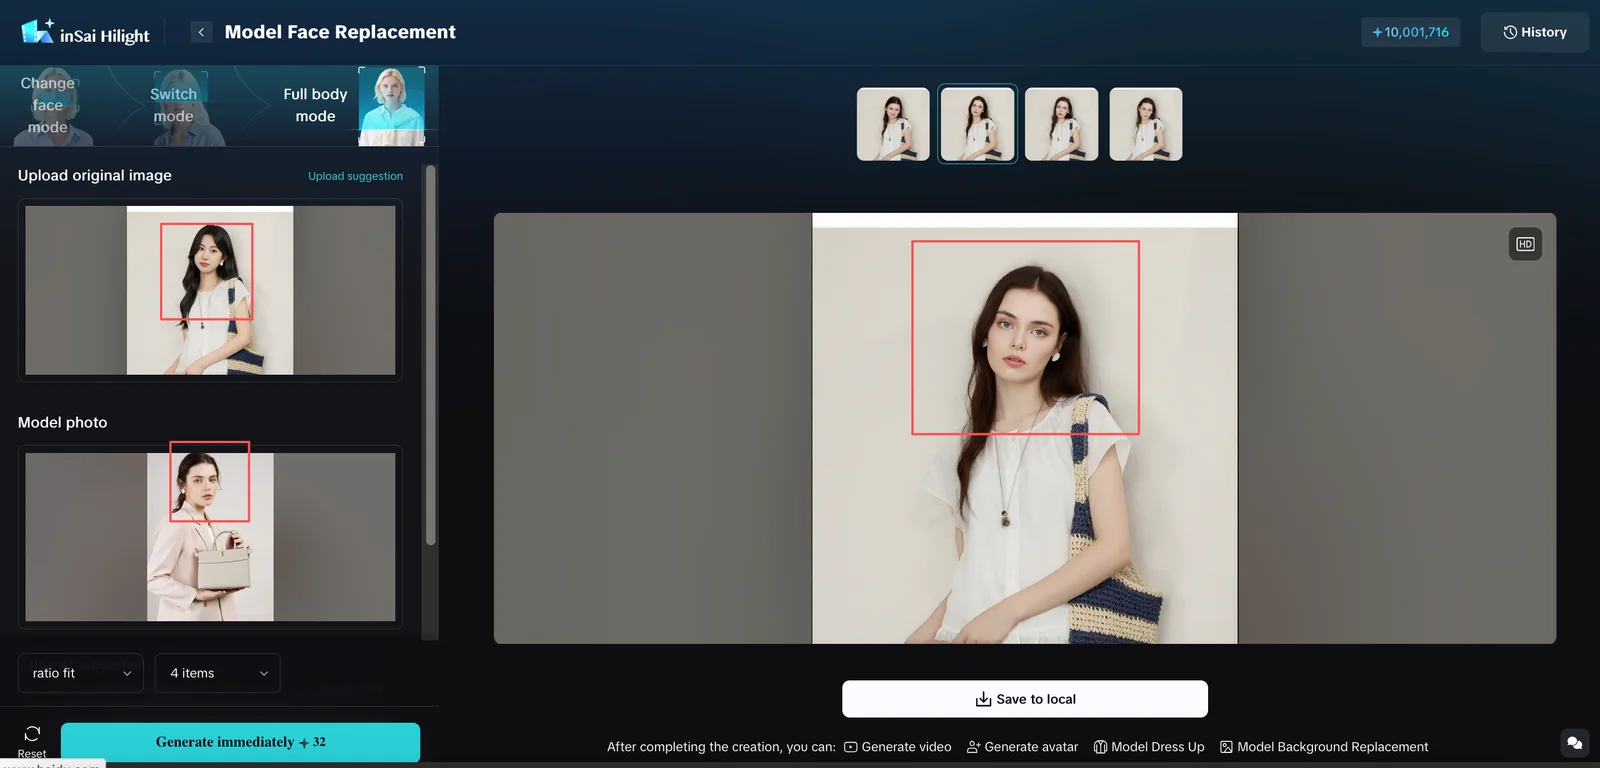
Review the Result Before Using It in Ecommerce
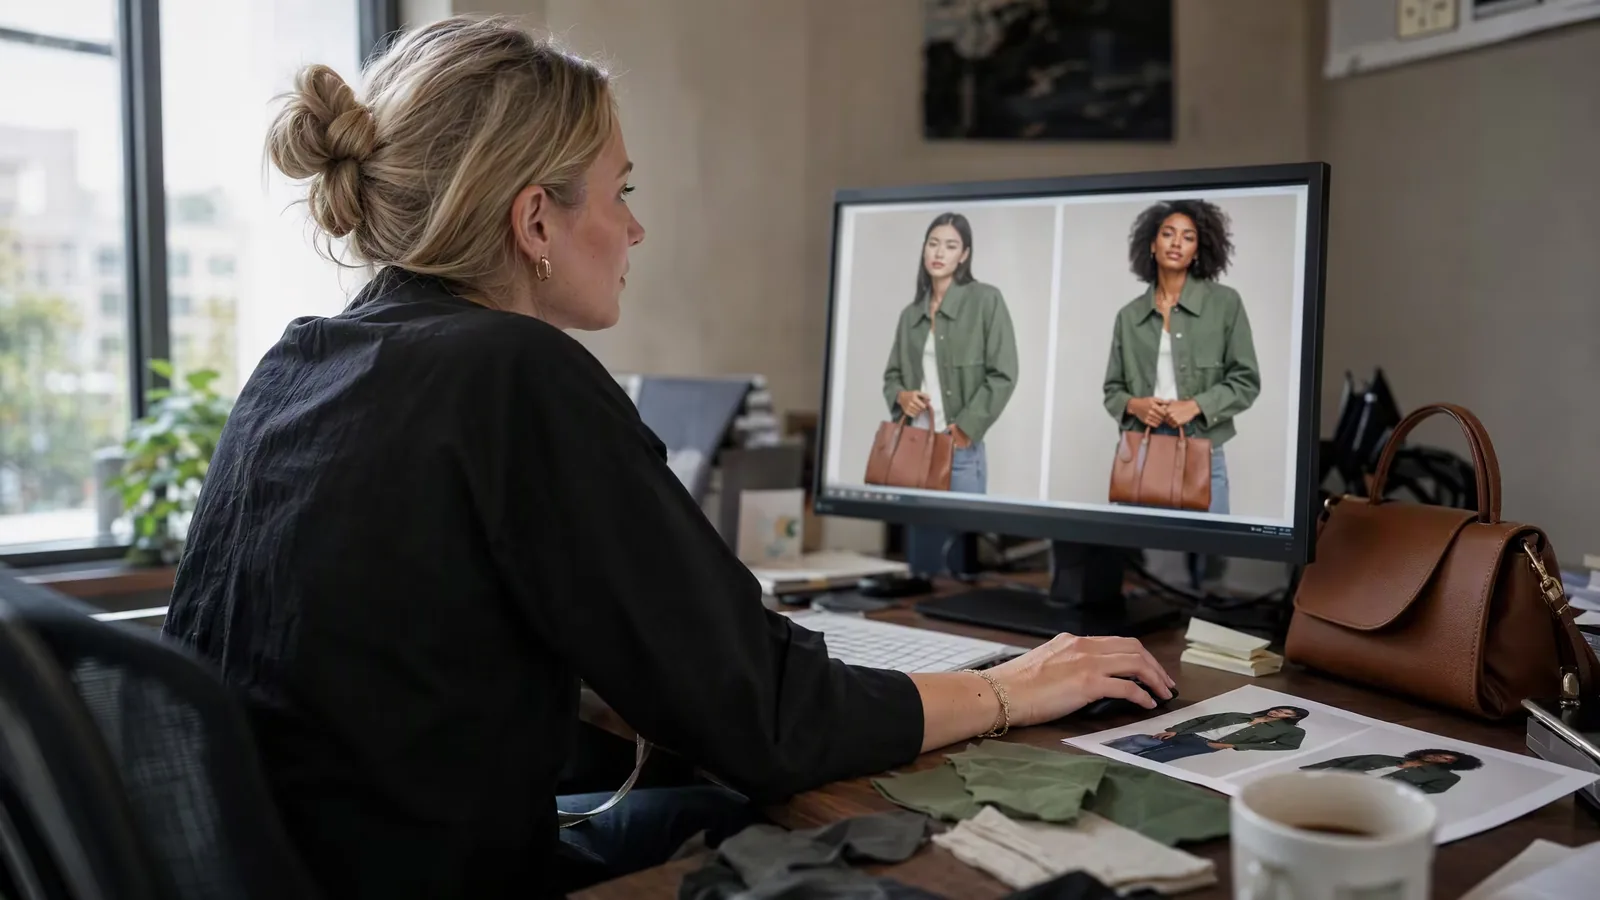
A natural-looking face is only one part of an ecommerce-ready image. Review each candidate in a consistent order.
1. Face and head boundaries
Zoom in on the ears, jawline, hairline, cheeks, and neck. Look for broken edges, duplicated details, or abrupt transitions between the replacement and the original image.
2. Hair, clothing, and accessories
Check where hair overlaps the shoulders, collar, earrings, glasses, hats, or other accessories. These intersections are easy places for visual inconsistencies to appear.
3. Lighting, skin tone, and sharpness
The replacement should feel compatible with the direction and softness of the original light. Compare face sharpness with the rest of the image and look for sudden changes in grain, contrast, or color.
4. Product accuracy
Compare the candidate with the original photo. Check clothing color, logos, prints, seams, jewelry, held products, and any area touched by the model. The workflow is designed to change the person, but every generated image still needs a product-level review.
5. Pose and body proportions
In Head Swap and Full Body modes, inspect the neck, shoulders, hands, waist, and legs. Confirm that the body still looks coherent and that the model interacts naturally with the product.
6. Background and channel crop
Preview the image at the ratio required by the product page, marketplace, ad layout, or social platform. Make sure the final crop does not remove the product, feet, hair, or other important content.
If the Result Looks Wrong, Change the Input or the Mode?
Use the location of the problem to decide what to adjust first.
Change one variable at a time. If you change the source images, mode, ratio, and candidate count together, it becomes difficult to tell which adjustment helped.
Where Can an Ecommerce Model Face Swap Be Useful?
Product page supporting images
Add a reviewed model variation beside the original product photos when another person or visual direction helps present the item. Keep factual product images available for color, materials, labels, and construction details.
Regional campaign concepts
Use an ecommerce model face swap to explore a small number of model directions for a market or campaign before committing to a larger production decision. Treat each result as a candidate to review, not as proof of audience preference.
Static social media assets
Prepare still-image options for Facebook and Instagram Feeds, Stories, or carousel layouts when the existing pose and product presentation already work but the person needs a different direction. Check the final crop in the destination layout: a portrait image that works in the Feed may need a different composition for a full-screen Story or a compact carousel card.
After approving the model image, you may still need a different setting for a seasonal post or campaign layout. Follow the AI product background guide to prepare a new scene while keeping product review in the workflow.
Early visual alignment
Merchandising, brand, and content teams can compare a few approved images when discussing model direction, crop, and overall styling. This can make the next creative decision more concrete without turning every variation into a finished campaign asset.
If you only have a clothing product image and need to create a static on-model result first, that is a different workflow from modifying an existing model photo. See how to turn clothing product photos into on-model images with AI.
Save Results and Revisit Earlier Generations
When a candidate passes the face, product, and composition checks, use Save to Local to download it. Keep the original image beside the approved result so another reviewer can compare them later.
Use History in Model Face Replacement to revisit earlier generations. Clear filenames that include the product or SKU, mode, ratio, and version make it easier to compare candidates and avoid publishing the wrong file.
Frequently Asked Questions
What is the difference between Face Swap mode and Head Swap mode?
Face Swap mode changes the face while retaining the original hairstyle, pose, and clothing. Head Swap mode changes both the face and hairstyle while retaining the original body pose and clothing. The current English interface displays Head Swap mode as Switch mode.
How many images do I need to swap a face in a photo?
You need two source images: one original image containing the model and one clear replacement model photo.
Can Hilight replace the entire model instead of only the face?
Yes. Choose Full Body mode when the task requires replacing the entire person. Review the clothing, product interaction, hands, body proportions, and background closely because more of the image is being regenerated.
Will the clothing and product details always stay unchanged?
Do not assume that every detail will remain unchanged. Compare each result with the original image and inspect colors, logos, prints, seams, accessories, and held products before publishing.
What if I do not have an existing model photo?
Model Face Replacement is built around an existing image containing a model plus a replacement model photo. If your starting point is a clothing product image rather than an existing model photo, use a clothing-to-model workflow instead.
Final Thoughts
The best mode is the one that changes only what the creative task requires. Use Face Swap mode for the face, Head Swap mode for the face and hairstyle, and Full Body mode when the entire person needs a new direction.
Start with two clear, compatible images. Then treat generation as the beginning of review, not the end: compare the face, hair, clothing, product, pose, background, and crop with the original before saving the result.
Ready to try it? Open Model Face Replacement in inSai Hilight AI Studio and begin with one existing model image and one authorized replacement photo.

